
Do you think twice before handing over the phone to your kids, when they ask for your iPhone to play games, being afraid that they might harm or accidentally delete your personal data? Fortunately, there is a smarter option for such situations. With the Guided Access feature, you can lock your screen on one specific app and control your iPhone’s privacy as per your requirement. Guided Access limits users to one specific app, preventing them from switching to another program or returning to the Home screen.
Also Read: How to Lock Your Smartphone To Just One App
Whether it’s a game, music app, math app, or a story, video, or a reading app, Guided Access makes sure that all attention remains on that one particular app. It helps you to lock down within one specific app and makes your iPhone a one-app device, even the incoming notifications will not be visible during that time. It also prevents you from accidentally exiting to the Home screen or another app when you don’t mean to. Isn’t it amazing? Here’s how we can enable Guided Access on your iPhone:
How to enable Guided Access on your iOS device:
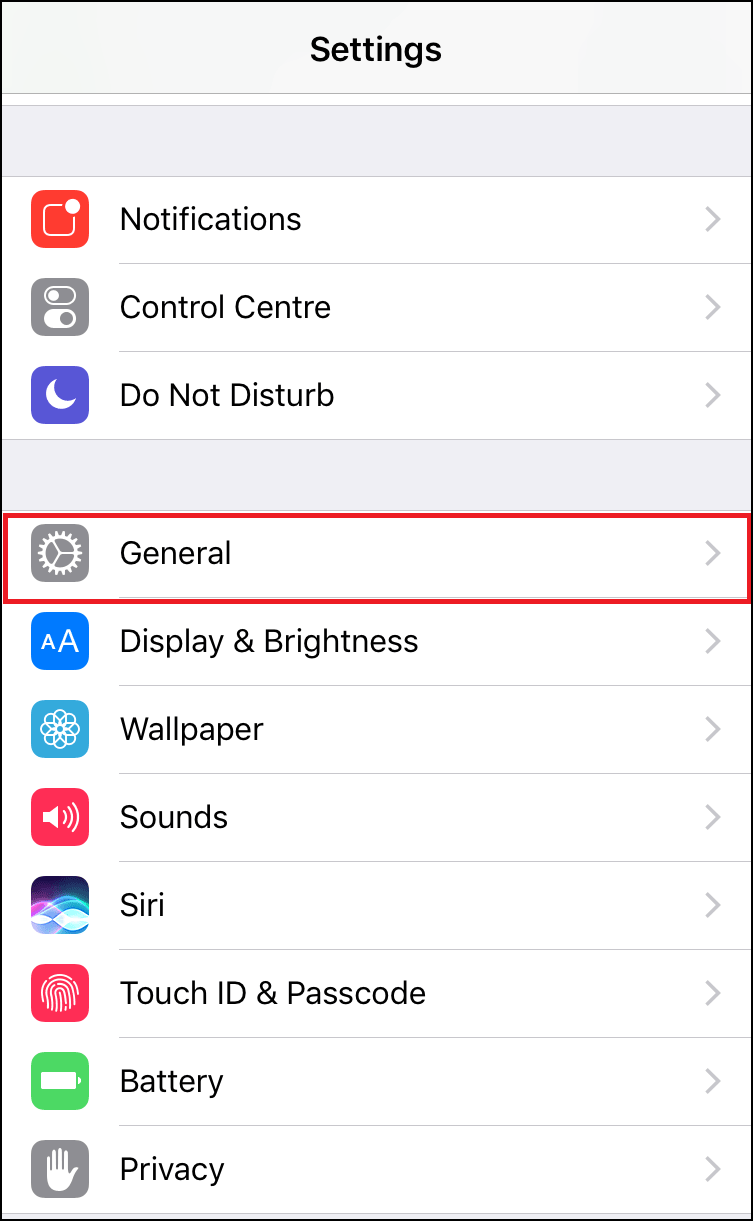
- Tap on Settings from the Home screen of your iPhone.

- Select the General option.
- Scroll down and tap on the Accessibility option.
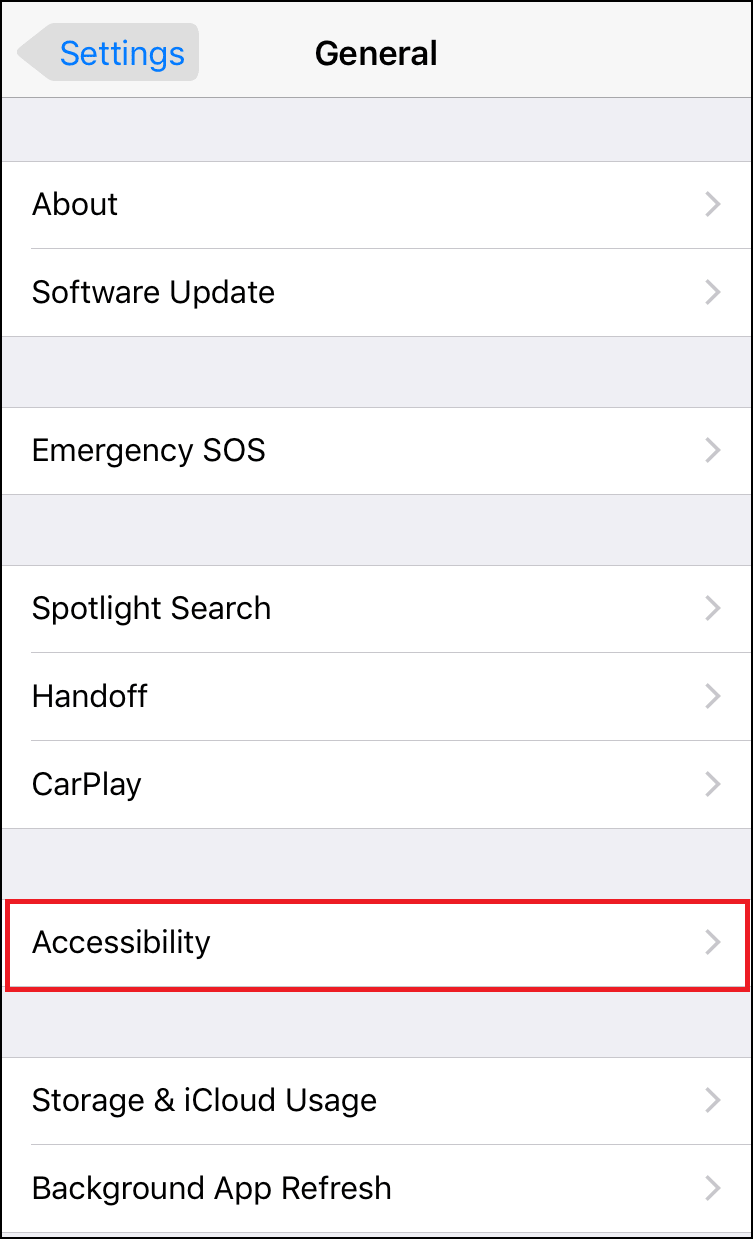
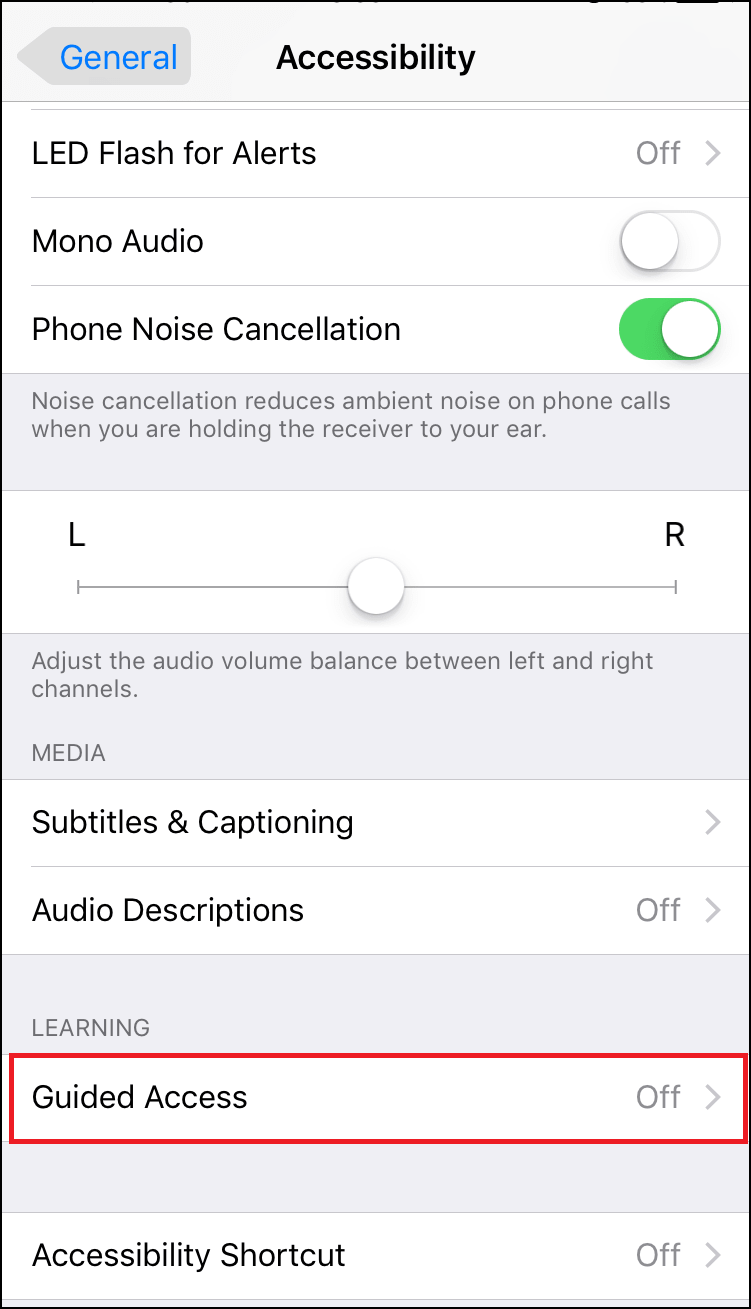
- From the Accessibility screen, scroll down to the Learning section and select Guided Access option.
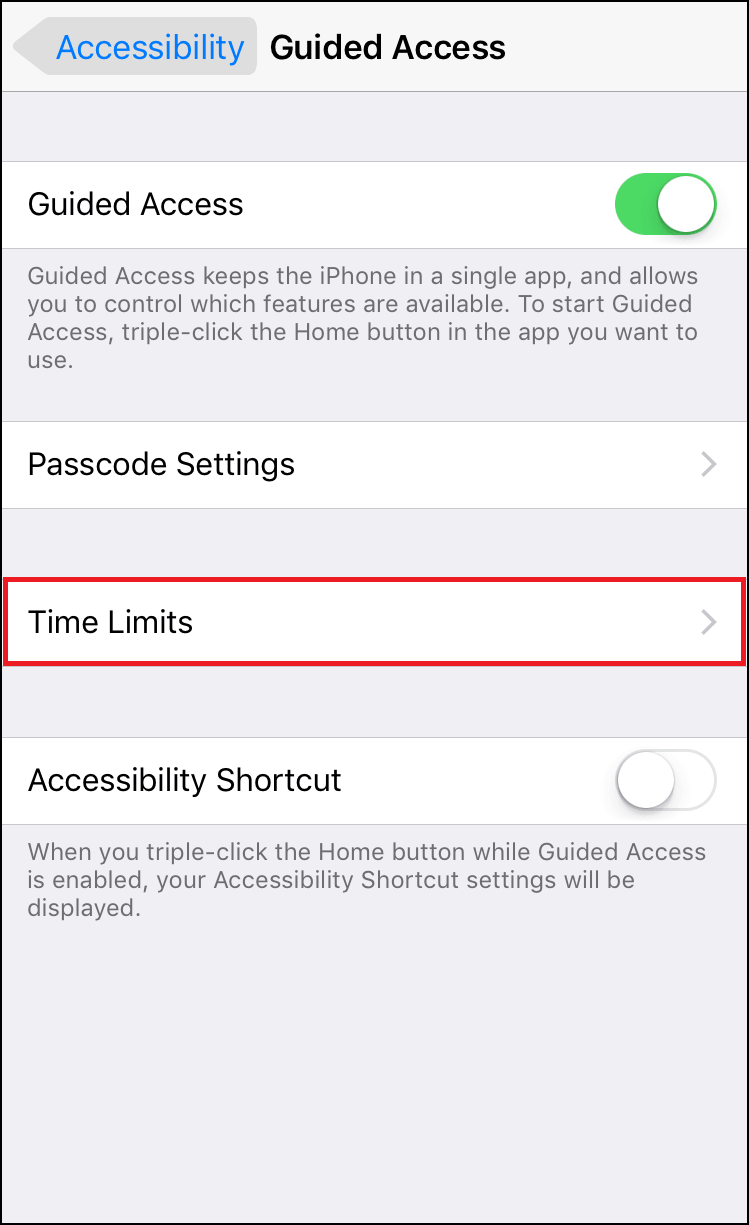
- Toggle ON the Guided Access option.
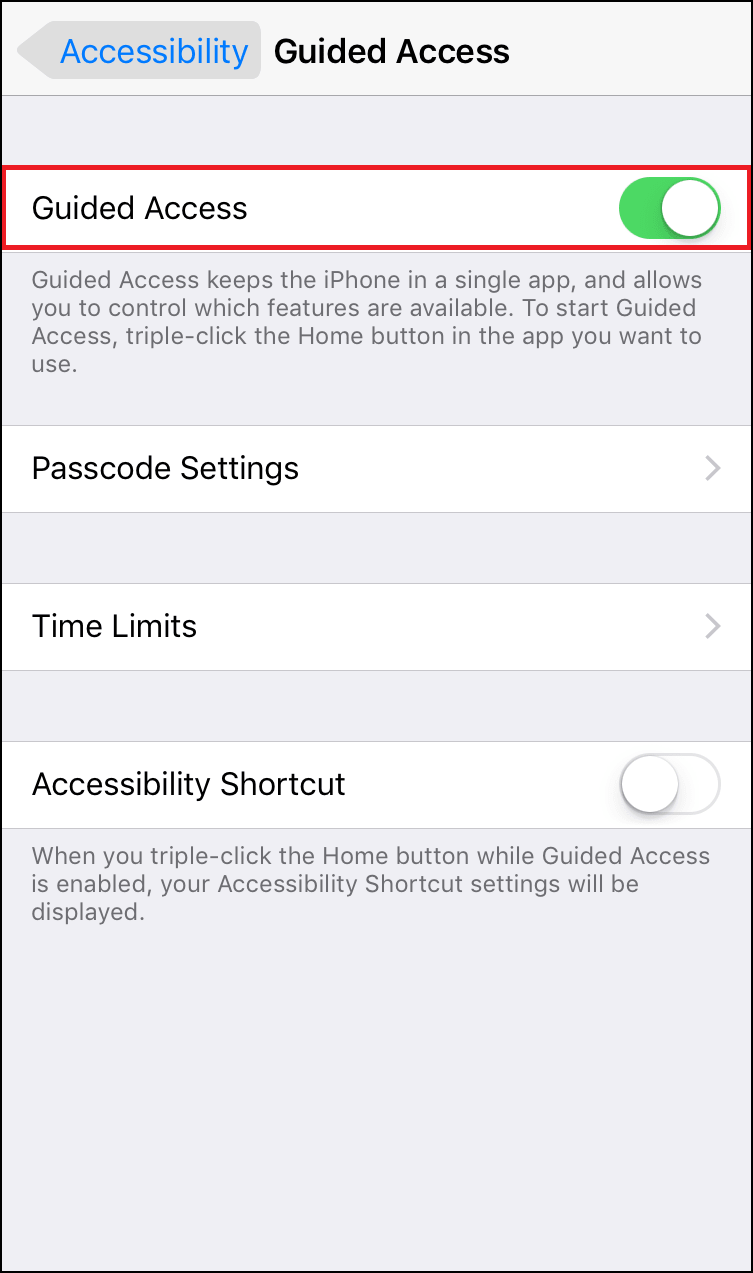
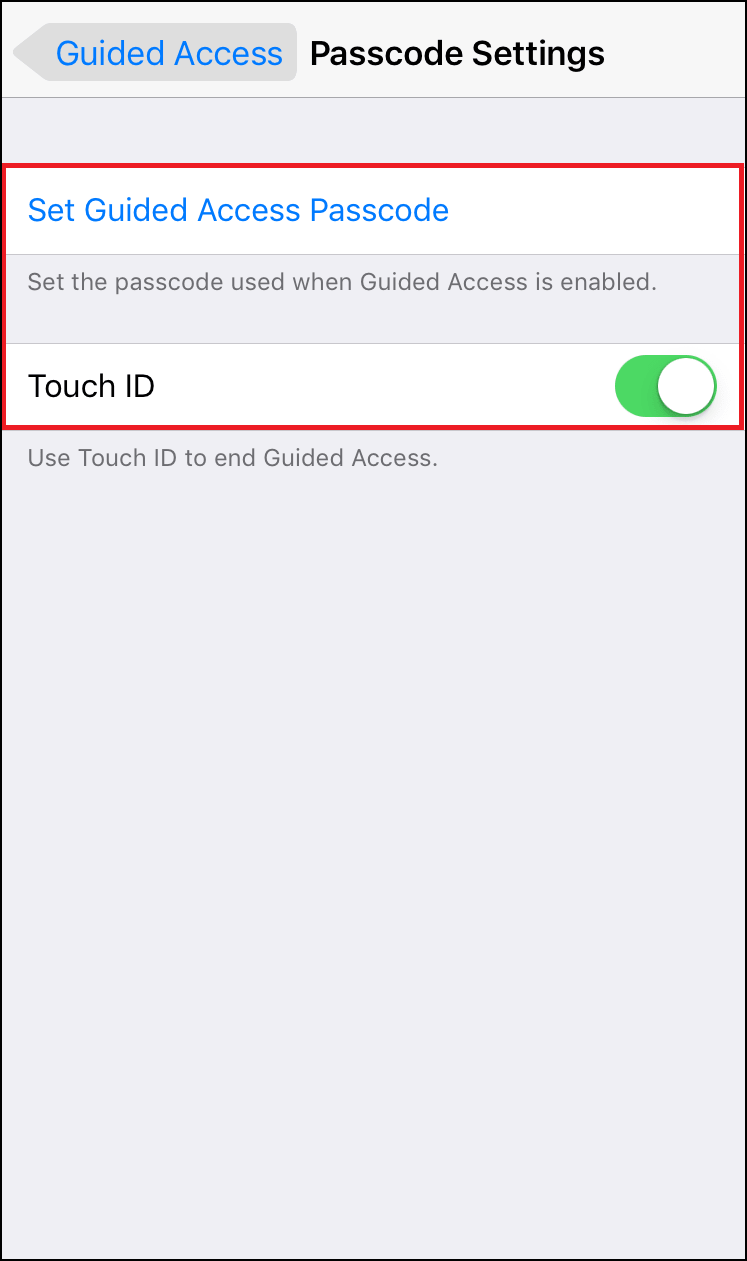
- Tap the Passcode setting to set a 4-digit passcode. (You can also use Touch ID instead of passcode as per your requirement).
- Tap the Time Limits option to configure time limit sounds.
- The Sound option allows you to select a sound that will play when the time limit is up. You can select the alert sound as per your choice from the list, by clicking on the Sound option.
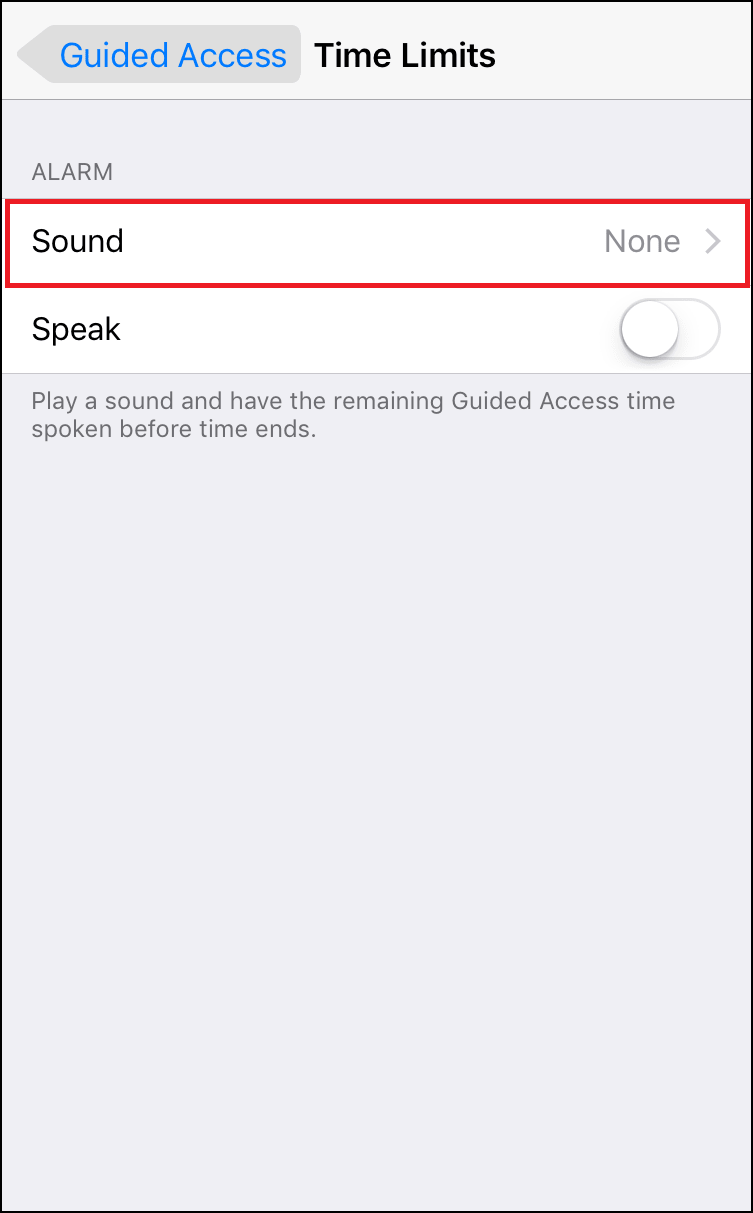
- The Speak option will announce the remaining time aloud when you enable it.

Once you’ve enabled and configured Guided Access, you’re good to go. Just roll to the home screen and open whichever app you wish to restrict. Then, press the Home button three times in a row to enable Guided Access for that app.
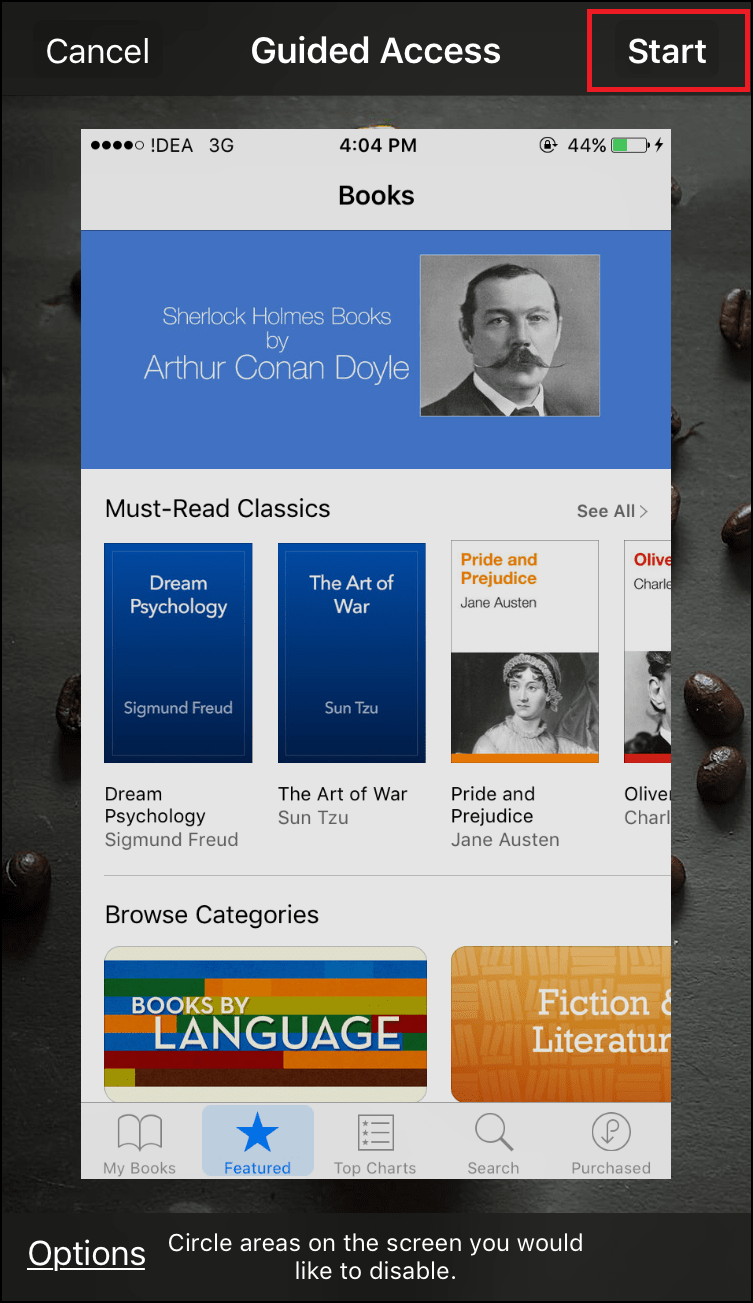
- Tap the Options button in the bottom left corner of the Guided Access screen and enable the Time Limit option to set any time limit you want and Tap on Done.

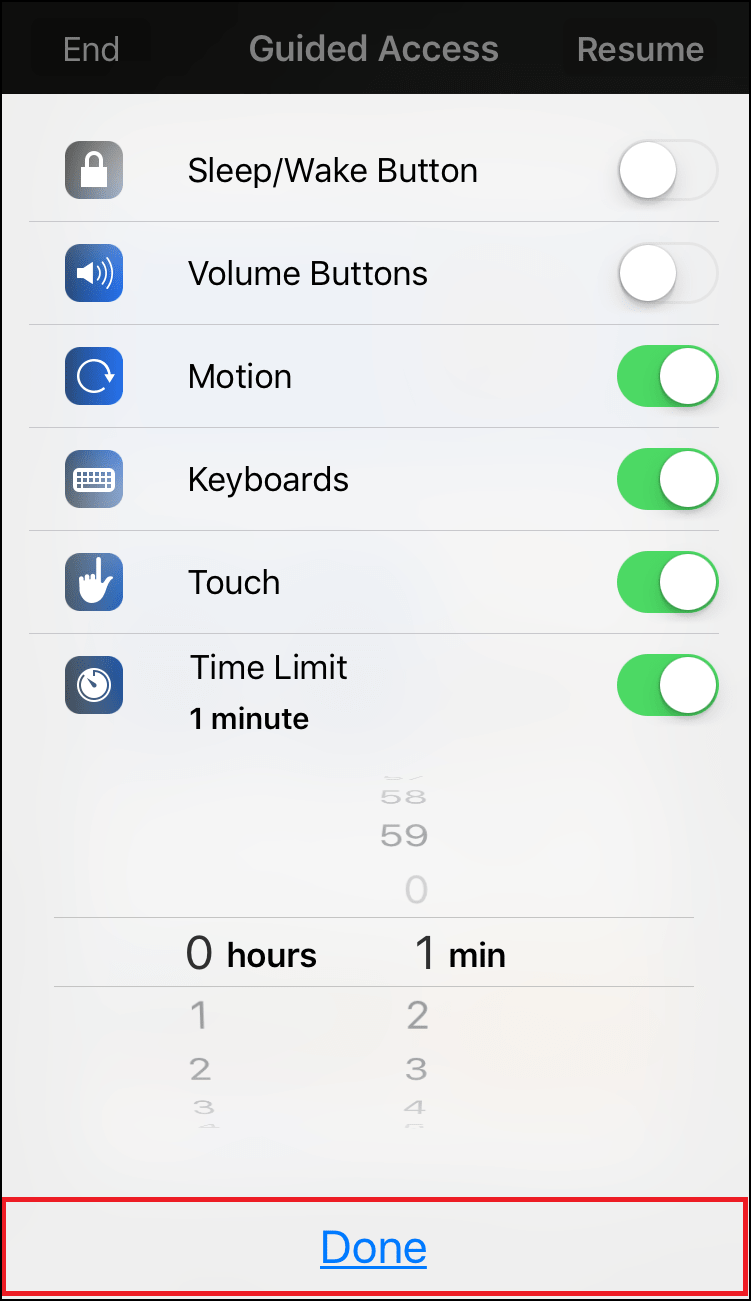
- Click on the Start option at the top-right corner of the screen to put the device into the Guided Access mode and apply your time limit.
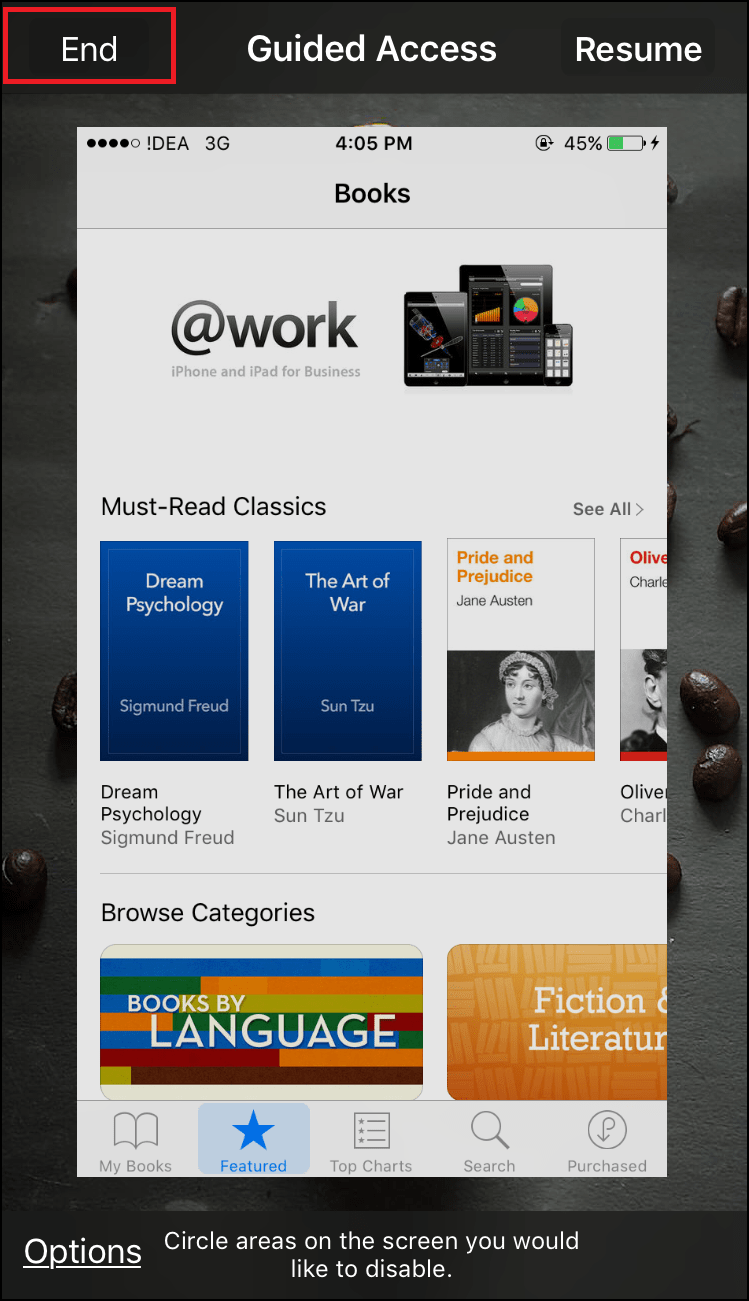
- Your iPhone will be locked to the specific application you chose. When the time limit expires, the iPhone or iPad will lock itself until you enter the PIN you have set. To leave Guided Access at any time including before the time limit ends, simply press the Home button three times in a row and enter your PIN.
- Tap End at the top-left corner of the screen if the Guided Access screen appears. Guided Access will be disabled.
Guided Access is an awesome feature for devoting your device to a single task. Parents who share their iPhone with children should find Guided Access very helpful as they can limit their gameplay time or restrict them to an educational application.
Also Read: How to Use AssistiveTouch on iPhone


Leave a Reply